Have you ever wanted to remove the fuel tank off the Strom to do your own air filter change, or maybe a Throttle Valve Synchronisation?
Well here is a step by step guide on removing that gas tank.
Step 1
The job is easier if the gas tank is low on fuel. But if your up to it, full of gas is fine.
Gather the tools required to do the job. Nothing fancy, just the following will do fine.
4mm Allen key
Cross head screwdriver
12mm socket and ratchet
10mm socket and ratchet and or two 10mm spanners
Terminal screwdriver or more commonly called electricians screwdriver (small)
A tub or box to keep all the bolts etc safe in one place
An old rag
Somewhere safe to place the fuel/gas tank once removed
Step 2
Remove the top box if fitted and the seat
Step 3
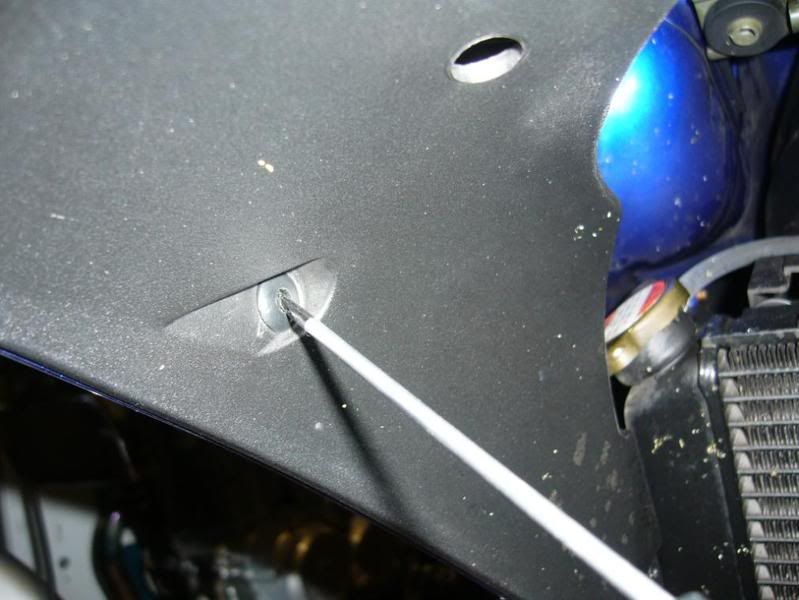
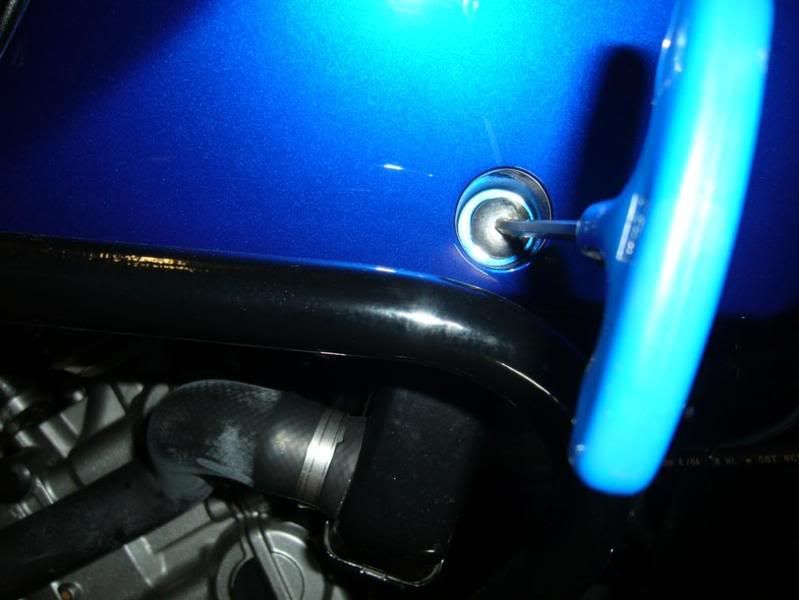
At the front top of the fuel tank, remove the two allen bolts that hold the black plastic panel in place, there is one on the left and one on the right (see pic below)
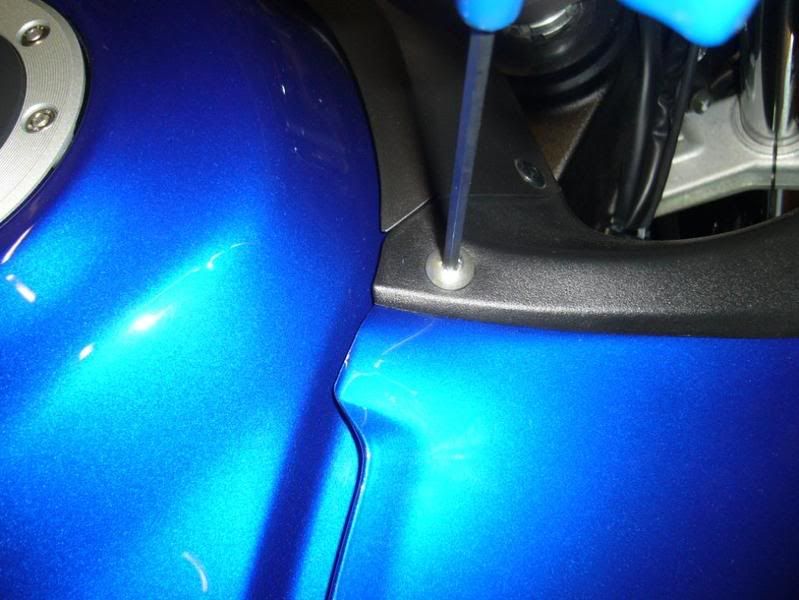
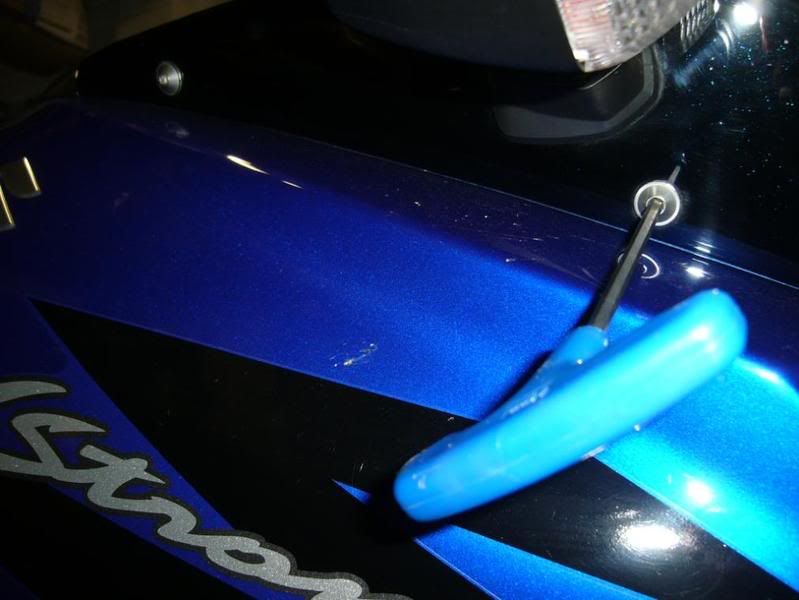
Then remove the two plastic rivets on the blanking panel, they are just above the bolts you have just removed. These are released by pushing the centre of the rivet till it pops, it does not pass all the way out. Then you can pull the rivet out with your finger nails or a small terminal driver.
Now you can simply lift away the blank panel and store it safely.
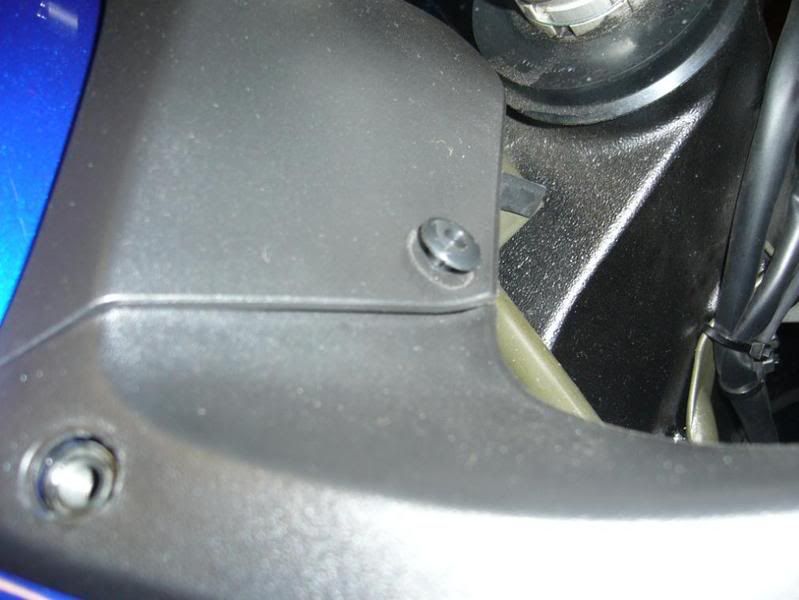
This what the rivets look like when they are removed. If you need to see more on how to reset them etc,
clicky 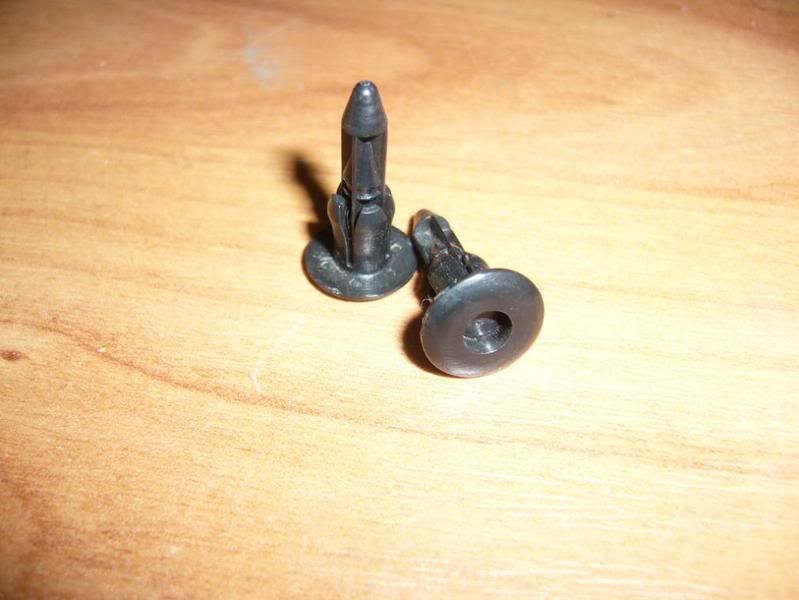
Step4
Go to the front of the bike, the lower cowling below the headlamp needs to come off. Look underneath, above the front mudguard/fender, you will see three pop rivets. Take these out.
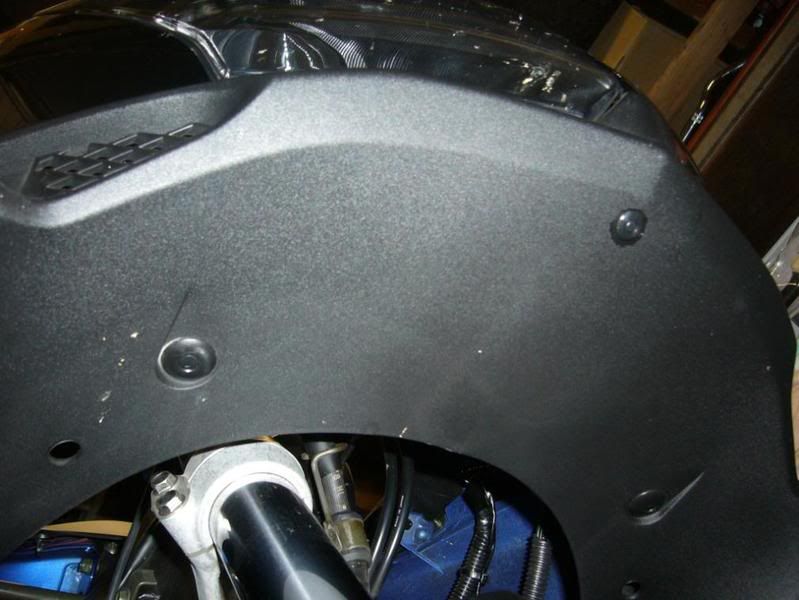
Then if you look at either side of this lower cowl, you will see another two rivets per side, remove these as well. One as you see it in the pic, the other is close to the radiator.
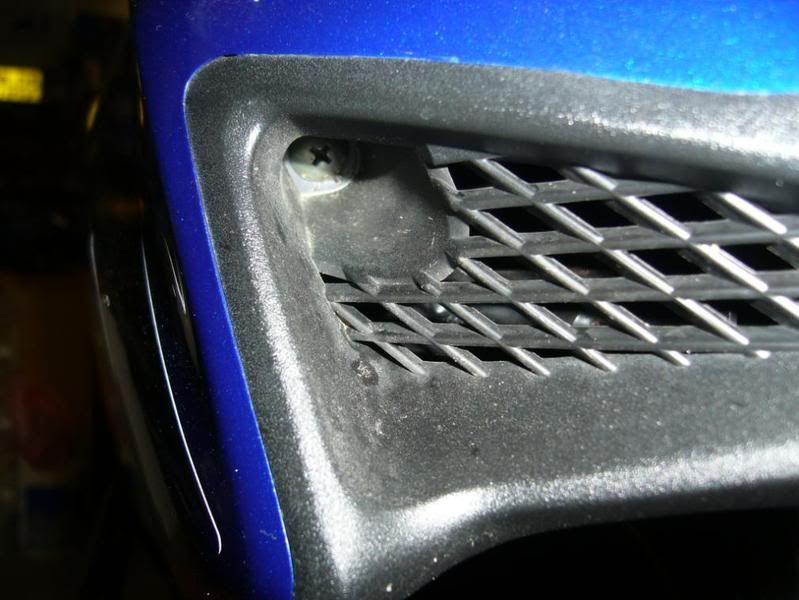
Now go to the air intake grills on the front cowl. Look inside and you will see a crosshead screw, there is one on either side. Remove these but be sure to use one hand to support the lower cowl as it is removed
Step 5
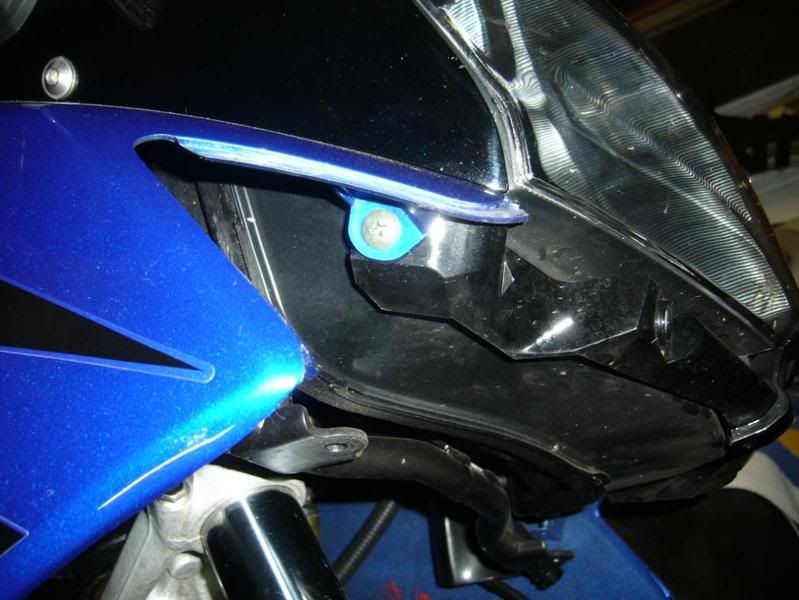
Whilst still at the front of the bike and with the lower headlight cowl removed, you will see another crosshead screw on the coloured plastic. There is one either side. Remove these.
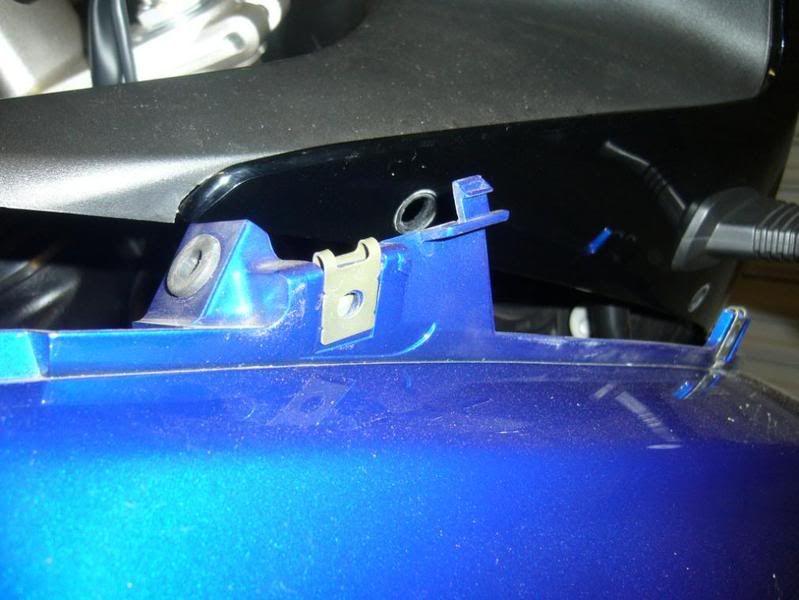
Then go to the coloured side cowl and remove the allen bolt that holds on the black plastic cowl along the frame spar. This black plastic cowl can now be pulled gently towards you and off the bike. PN caution it is also held on by a plug into a rubber grommet so do not pull at an angle. Use both hands and pull gently towards your body.
Next remove the allen bolt near the front of the coloured panel that goes into the radiator.
Also both the bolts on the upper black coloured plastic.
Next the next part needs caution. The coloured side panels are still fixed to the upper black plastic panels by means of a tab and a grommet. You will need to lift the upper black plastic by hand to see this. Do not lift to far as you may break the plastic, just lift enough to see the fixings and gently release them with your fingers.
Step 6
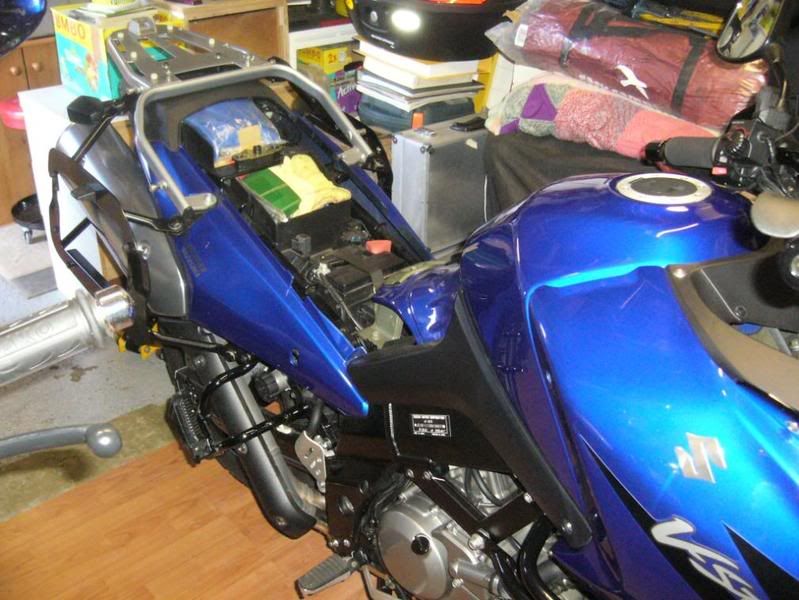
By now you have both side panels off the bike.
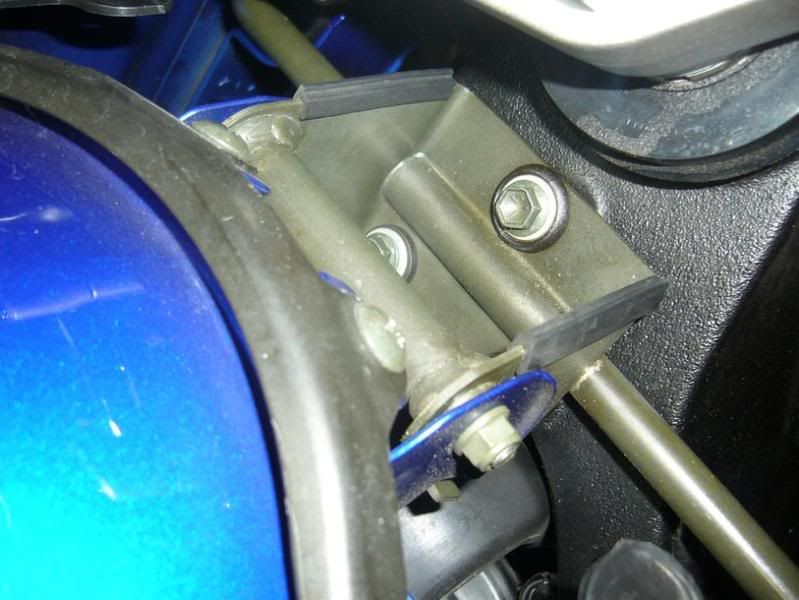
At the front of the fuel/gas tank, there is a 10mm bolt, loosen the bolt but do not remove.

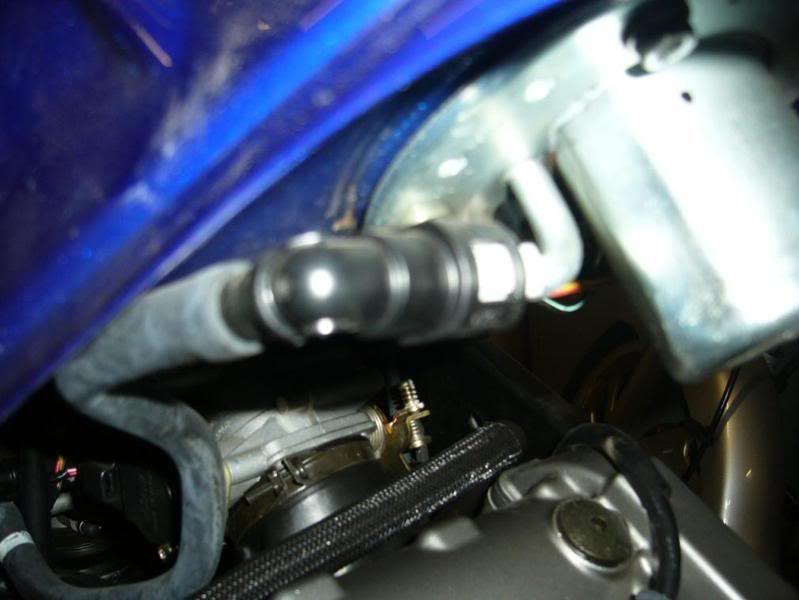
Now go to the rear of the tank and remove the 12mm bolt that holds the tank and support bracket in place. Lift the rear of the tank by hand just enough to get the support bracket in, then remove the overflow pipe from the right hand lower side of the tank.
Then undo the fuel pump connector (white plug). You may need the terminal driver to help push down on the locking tab to release the two halves of the plug.
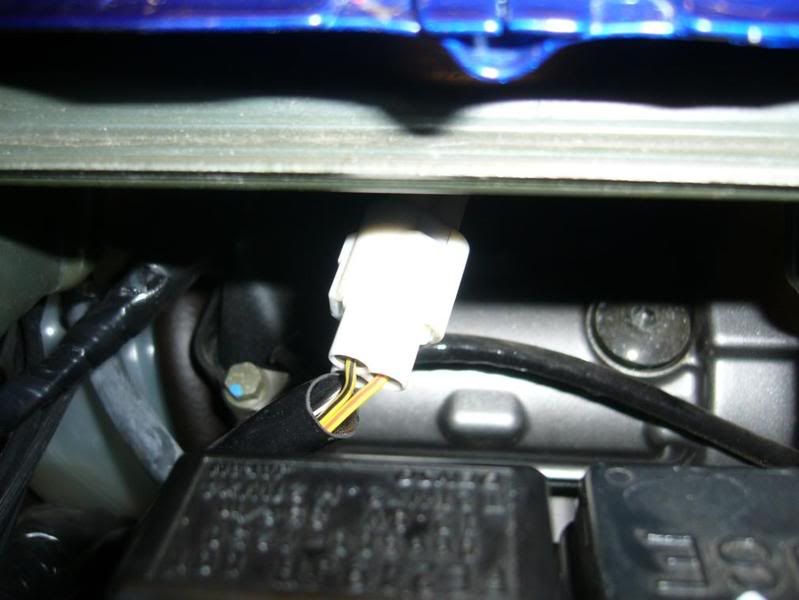
Then you need to have a rag under the fuel pump supply pipe ready to catch and petrol remaining in the pipe. To undo this you press in on the white lugs of the connector and twist the black part anti clockwise and you will see it release.
Now you need to go back to the front of the tank and remove the 10mm through /pivot bolt completely.
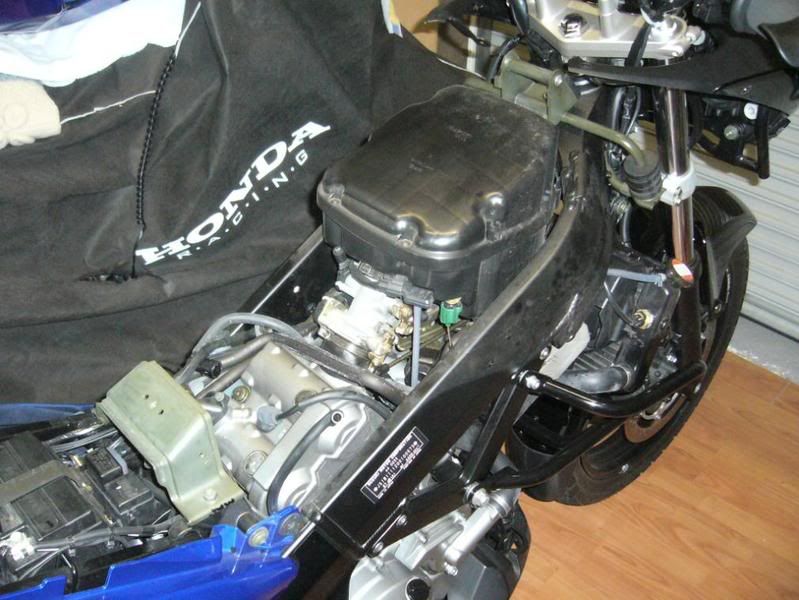
Now you are ready to carefuly lift the tank away from the bike. Best done by lifting towards the rear of the bike and then away from the bike.
You are now ready to do what you need to.


 Your Privacy Choices